
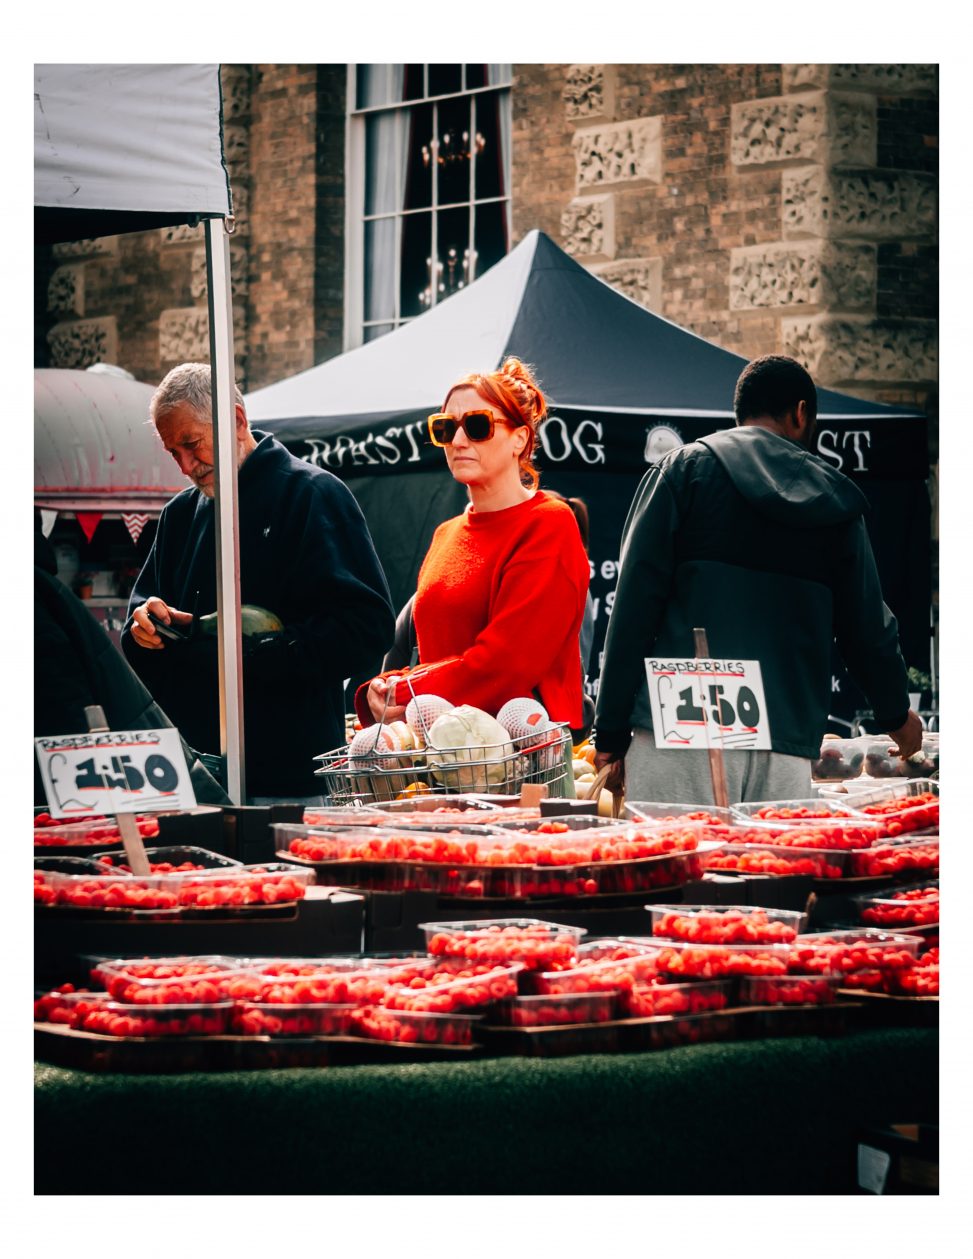
If you want to showcase your photos with a professional look; adding white borders and an identity plate can make a big difference. Lightroom Classic’s Print module allows you to do this easily before exporting your images as JPEG files. In this blog post; I will walk you through the steps to create prints with white borders and an identity plate so you can share or print your photos with style.
Getting Started with the Print Module
First, open Lightroom Classic and select the photo or photos you want to export. Then switch to the Print module by clicking “Print” in the top right corner of the interface. The Print module is designed to prepare images for printing; but it also offers features to add borders and identity plates that are perfect for exporting JPEGs.
Setting Up the Page and Layout
On the right panel; find the Layout Style section and choose “Single Image/Contact Sheet.” This option lets you work with one photo per page which is ideal for adding borders and an identity plate. Next; go to the Page Setup button at the bottom left to select your paper size. Even if you plan to export JPEGs; choose a size that fits your needs; for example; 8×10 inches or A4. If you’re planning on sharing these images on Instagram, choose 8×10.
Adding White Borders Around Your Photo
To create white borders; use the Margins and Cell Size sliders found in the Layout panel on the right. Increase the margins to add space around the photo; which will appear as white borders since the background color of the page is white by default. You can also adjust the cell size to control the photo’s dimensions within the bordered area. This method gives you full control over how thick the borders are.
Including an Identity Plate
An identity plate is a small branded text or logo that appears on your photo; often showing your name or website. To add one; scroll down to the Identity Plate section on the right panel. Check the “Identity Plate” box to enable it. You can either use the default text or create a custom identity plate. To make a custom one, click “Edit” and type your desired text, choose the font, size; and colour. Position the identity plate using the controls below the checkbox; typically placing it at the bottom or corner of the page looks best. Be careful though! If you place this over the page margin, they won’t be visible in the export – I found this out the hard way.
Exporting Your Photo as a JPEG
Once you have your borders and identity plate set up; it’s time to export. Instead of printing to a physical printer, click the “Print to File” checkbox at the bottom left. Then press the “Print to File” button. Lightroom will prompt you to choose a filename and location. The file will be saved as a JPEG image with the settings you configured.
Tips for Best Results
- Use high resolution images to ensure good quality in the exported JPEG.
- Experiment with margin sizes to get the border thickness that suits your style.
- Make sure the identity plate text is legible but not overpowering; subtlety works best.
- If you want different border colors; change the page background color in the Page Background panel.
- Save your print template if you plan to use the same layout again in the future.
Conclusion
The Print module in Lightroom Classic is a powerful tool not just for printing photos but also for creating polished JPEG exports with white borders and identity plates. By following these steps you can add a professional touch to your images with minimal effort. Try it out to give your photo presentations a clean, branded look that stands out – whether you share them online or print them in physical form.
The best bit? The images will still be high-resolution with no image quality penalty. If you use the ‘Export with Border’ option on Lightroom Mobile, they will also lower the image quality. This gets around that.
Discover more from Tom Pollard Photography
Subscribe to get the latest posts sent to your email.
Leave a Reply